Crafting the Perfect Cup: A Comprehensive Guide to Home Coffee Brewing
Mastering pour-over, cold brew, iced coffee, French Press, and espresso at home can elevate your co…….
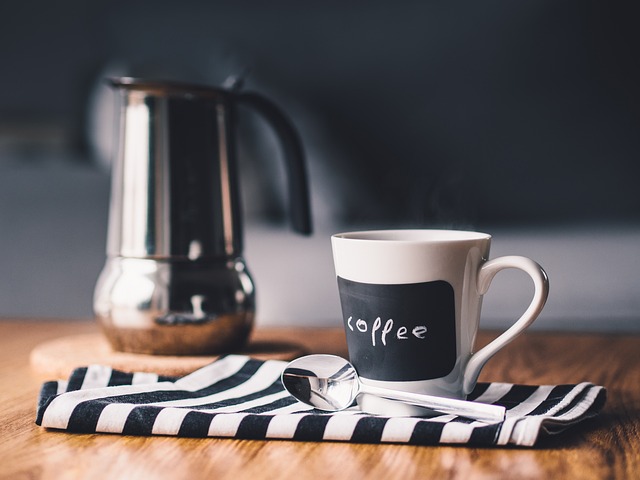
Mastering pour-over, cold brew, iced coffee, French Press, and espresso at home can elevate your coffee experience to a level comparable with professional cafés. Precision in temperature, grind size, and technique is crucial for each method: pour-over demands a precise pour and tuned grind size for nuanced flavor; cold brew requires soaking coarsely ground beans in cold water for a smooth, chocolatey concentrate; iced coffee can be made by rapidly cooling hot coffee over ice or through specialized equipment, offering different taste profiles. French Press enthusiasts should maintain the water temperature just below boiling and use a medium-coarse grind, stirring after adding water and gently plunging at the two to four-minute mark to avoid over-extraction. Espresso aficionados need to ensure their fine coffee grounds are evenly compacted in the portafilter, achieving an even extraction within 25-30 seconds for a balanced shot. Creating milk froth involves heating milk to around 150 degrees and mastering the steaming technique to produce fine microfoam, essential for complementing espresso drinks. With practice and attention to detail, anyone can craft exceptional coffee drinks at home tailored to their taste preferences.
Discover the diverse world of coffee brewing methods and elevate your home barista skills with our comprehensive guide. From the rich flavors of French press to the creamy intensity of espresso, this article delves into the artistry and science behind each technique. Explore the nuances of cold brew versus iced coffee, learn the secrets to frothing milk at home, and savor through five healthy coffee recipes designed to invigorate your mornings. Whether you’re a seasoned coffee aficionado or a curious newcomer, this guide offers something for every enthusiast. Brew your way to coffee mastery with our step-by-step instructions and tips for achieving café-quality results right in your kitchen.
- Perfecting Pour-Overs: Techniques and Recipes for Home Baristas
- Cold Brew vs. Iced Coffee: Brewing Differences and How-To Guides
- French Press Mastery: Step-by-Step to Flavorful Java
- Espresso Fundamentals: DIY Shot Pulling and Milk Frothing Tips
Perfecting Pour-Overs: Techniques and Recipes for Home Baristas
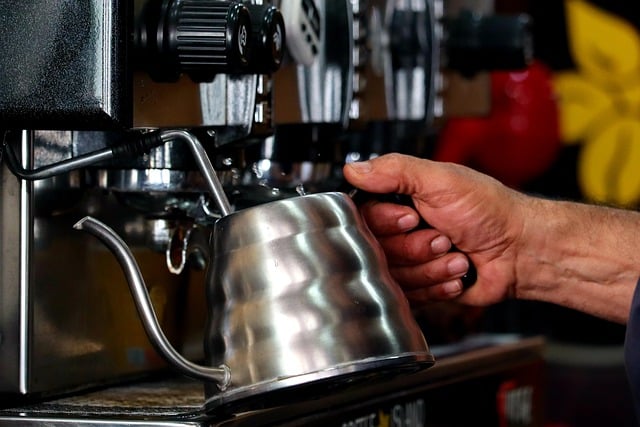
Mastering the art of pour-over coffee at home can elevate your daily brew to café quality. The pour-over method allows for a nuanced flavor extraction, highlighting the unique qualities of each coffee bean. To perfect this technique, start with fresh, finely ground beans and a clean pour-over cone or dripper, along with a filter. Preheat both the brewing device and your serving vessel to maintain temperature consistency throughout the brewing process.
The key to a great pour-over lies in the precision of water temperature, grind size, and pour technique. Begin by gently placing the filter into the dripper, ensuring there are no air pockets that could disrupt the flow. Bloom your coffee grounds by pouring just enough hot water to saturate them completely; this allows the grounds to release carbon dioxide and open up for optimal extraction. After about 30 seconds, proceed with the remaining water, pouring in a slow, spiral motion starting from the center and moving outward to ensure even saturation. The goal is to maintain a consistent flow that allows for a balanced extraction, avoiding channels or over-extraction. Experiment with different grind sizes and water temperatures to find what works best for your taste preferences and specific coffee beans. Home baristas can further refine their pour-over technique by adjusting the coffee-to-water ratio, the grind coarseness, and the pour speed, all of which will influence the flavor profile of their cup. With practice, patience, and a willingness to experiment, you’ll be able to craft a delicious and unique pour-over coffee experience right at home.
Cold Brew vs. Iced Coffee: Brewing Differences and How-To Guides
Cold brew and iced coffee are two distinct methods of enjoying coffee, each with its unique flavor profile and preparation techniques. Cold brew coffee is made by steeping coarsely ground beans in room temperature or cold water for an extended period, typically 12 to 24 hours. This slow extraction process yields a beverage rich in smooth, chocolatey, and low-acid flavors due to the slower extraction rate, which pulls out fewer acidic compounds compared to hot coffee brewing. The resulting concentrate can be diluted with water or milk to serve over ice, offering a refreshing and less bitter taste, even at higher concentrations.
In contrast, iced coffee is traditionally hot-brewed coffee that is cooled over ice. This method involves brewing coffee in the usual way using hot water, but instead of serving it immediately, it’s poured over ice almost right away. The rapid cooling process can sometimes lead to a drink that is more diluted and often more bitter and acidic than cold brew. However, iced coffee can also be made by brewing directly onto ice using a pour-over method or an automated drip machine designed for cold preparations. Both cold brew and iced coffee have their merits, with cold brew offering a smoother, less acidic experience and iced coffee providing a more traditional coffee flavor that’s refreshed by the chill of the ice. Understanding these differences allows coffee enthusiasts to choose the method best suited to their taste preferences and the equipment they have at home.
French Press Mastery: Step-by-Step to Flavorful Java
Mastering the art of the French Press is a journey through the nuances of coarse grounds and the delicate balance between water temperature, brewing time, and the rich flavors that this method can extract. The key to achieving a flawless cup of coffee using a French Press lies in precision and patience. Begin by boiling your water; it should reach a temperature just below the boiling point, typically around 195°F to 205°F (90°C to 96°C). This ensures that the coffee grounds are neither scorched nor under-extracted.
For every six ounces of water, use one tablespoon of medium-coarse coffee grounds. Place these into the French Press and gently pour the hot water over them. Stir briefly to ensure all the grounds are saturated. Then, start a timer: Allow the coffee to bloom for about 30 seconds, which allows the CO2 to escape and makes room for more flavor to develop. After the bloom, press down on the plunger gently to keep the grounds submerged. At the two-minute mark, begin pressing the plunger slowly, applying steady pressure until it reaches the bottom at the four-minute mark. Pour your coffee immediately after to prevent over-extraction and enjoy the robust, full-bodied java that a French Press can deliver. Remember, the grind size, water temperature, and brewing time are variables that you can tweak to explore different flavor profiles from your French Press.
Espresso Fundamentals: DIY Shot Pulling and Milk Frothing Tips
Espresso is a concentrated coffee beverage brewed by forcing a small amount of nearly boiling water through finely-ground coffee beans. The result is a thick, dark liquid that forms the basis for many popular coffee drinks. To pull the perfect espresso shot at home, start with fresh, fine coffee grounds and a clean espresso machine. Grind your coffee right before brewing for optimal flavor; the grind should be as fine as sea salt. Fill the portafilter with the correct amount of coffee—typically around 18 to 22 grams depending on your machine’s specifications—and tamp it evenly, applying around 30 pounds of pressure. This ensures consistent extraction. When you’re ready, insert the portafilter into the espresso machine and run hot water through a empty ‘shot’ to purge any stale water from the lines. Then, begin timing your shot as you start the extraction. The target is usually around 25-30 seconds for a double shot, yielding about 60 milliliters of espresso. If the shot comes through too quickly, the coffee may be under-extracted; if it’s too slow, it might be over-extracted, leading to bitter flavors.
Milk frothing at home can seem daunting, but with practice and patience, you can achieve creamy, velvety microfoam similar to what you’d find in a specialty coffee shop. Begin by steaming your milk to about 150 degrees Fahrenheit—it should feel warm but not hot to the touch. Use a steam wand to agitate the milk while it heats, creating larger bubbles that will eventually become microfoam. As the milk reaches the correct temperature, switch from agitating to gently stirring, allowing smaller bubbles to form and replace the larger ones. The goal is to create microfoam, which has tiny, uniform bubbles and a smooth, silky texture that complements the espresso’s rich flavors. To achieve the perfect milk texture for your coffee, experiment with the time you steam the milk and the speed at which you introduce air. Remember, practice makes perfect; each attempt will bring you closer to mastering the art of frothing milk at home.
Exploring the vast landscape of coffee brewing methods offers a journey rich in flavors, techniques, and experiences. This guide has navigated through the artistry of pour-overs, the nuanced differences between cold brew and iced coffee, the simplicity of French press mastery, and the precision required for espresso at home. With the knowledge shared, enthusiasts and novices alike can now craft cafe-quality coffee with confidence and creativity. Whether you’re seeking a morning jolt or an evening indulgence, the perfect cup awaits, tailored to your taste. Embrace the diversity of coffee brewing, and let your kitchen become your coffee lab, where innovation and tradition blend to create your unique coffee narrative.


